
Kawruh
VAD Burner Nozzle Replacement: Dimensional and Assembly Checks
Okt
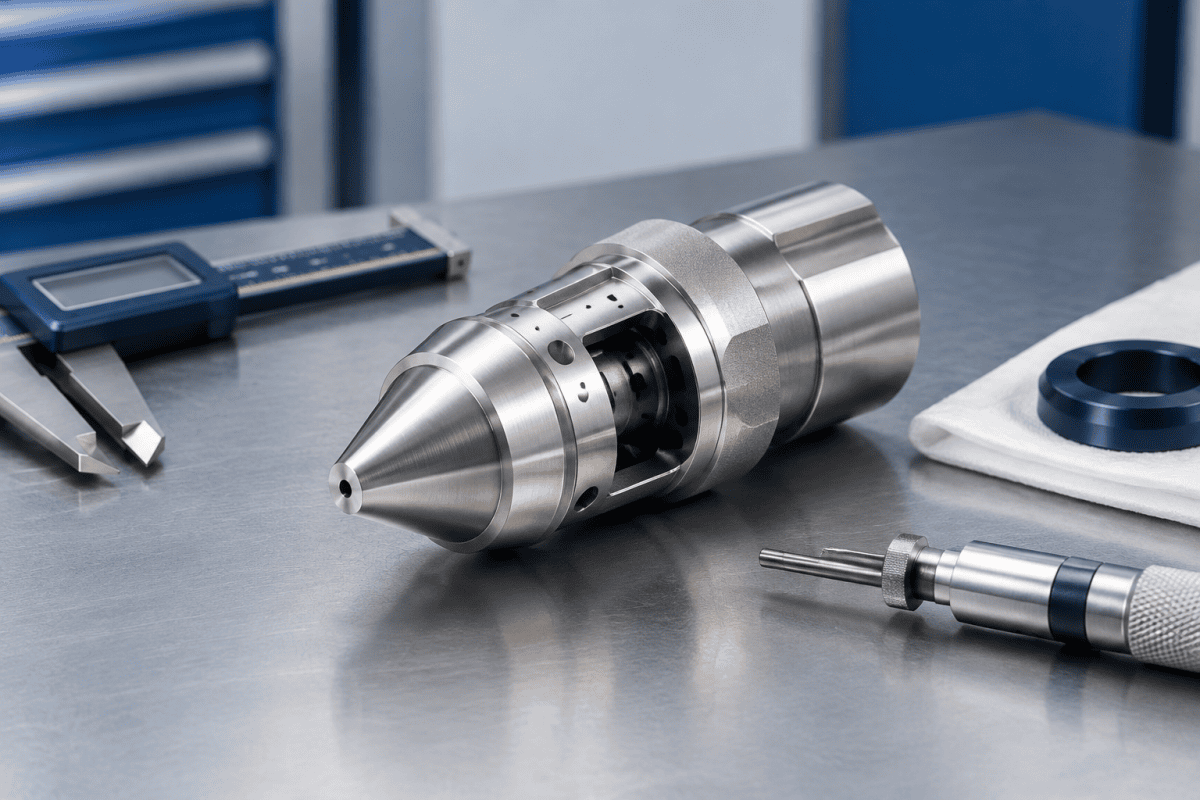
VAD Burner Nozzle Replacement is one of the more consequential maintenance tasks in an optical fiber preform line. The nozzle set controls how precursor vapors, fuel, and oxygen leave the torch, so even a small dimensional deviation after reassembly can shift flame shape, deposition efficiency, and eventually the axial soot body itself.
Unlike a routine swap of a wear-prone fixture, this task combines two distinct jobs: verifying that the new VAD torch nozzle matches the engineering intent in every critical dimension, and confirming that the assembly stack-up, seating, and orientation are correct before the torch returns to service. Skipping either step often produces problems that appear later in the process, when the cause is harder to trace. A disciplined VAD burner nozzle replacement procedure therefore protects both the torch hardware and the deposition run that follows.
This article covers the dimensional and assembly checks that matter most during VAD burner nozzle replacement, with attention to axial deposition burner parts specifically rather than OVD or MCVD hardware. Because VAD torches are configured for axial soot deposition onto a rotating seed rod, small errors in nozzle geometry or fit-up affect the deposit in ways that differ from radial deposition systems.
Why VAD Nozzle Replacement Differs From General Burner Maintenance
An axial deposition burner typically sits below or beside a growing soot boule, feeding multiple gas channels into a flame that must remain stable over a long deposition run. The nozzle set, often a faceplate with discrete orifices, sometimes combined with a central tube and concentric rings, determines the exit velocity and spatial distribution of each channel. In VAD, the alignment of those channels relative to the seed rod axis is central to deposit symmetry. Every VAD burner nozzle replacement deserves the same level of attention that the original torch build received on the assembly floor.
That makes replacement more dimensional than chemical. A general maintenance program may focus on cleaning, leak checks, and consumable life, while nozzle replacement requires a deeper review of the interface between the nozzle, the torch body, and the mounting arrangement. It also requires a clear reference: the original drawing, a verified reverse-engineered dimension set, or a measured baseline taken from a known-good assembly.
Where a replacement is not a drop-in match, the practical path is often drawing-based production of a component that meets the original interface. That is the purpose of OEM/ODM machining services for non-standard or discontinued hardware. Engineers who treat VAD burner nozzle replacement as a quick consumable swap usually discover the difference the hard way, after a deposition run drifts out of specification.
Dimensional Checks Before Installing a VAD Burner Nozzle
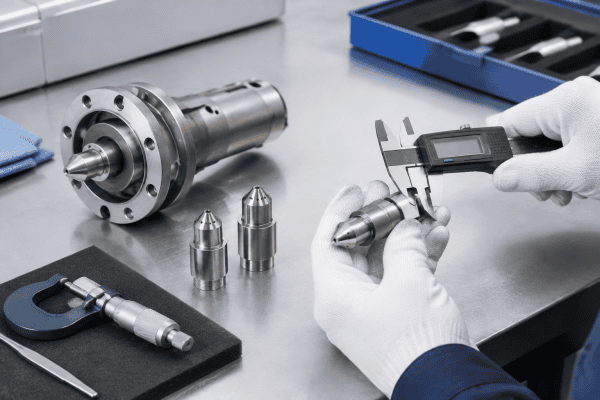
Dimensional verification should begin before the nozzle is mounted. Handling is easier, and a discrepancy found on the bench costs far less than one found after a deposition run. The checks below should be tied to whatever drawing or measurement record governs the part; they are not a substitute for the specified tolerances. Experienced maintenance teams treat these measurements as the foundation of every VAD burner nozzle replacement, not as an optional step.
Orifice and channel geometry
Inspect each orifice or channel for the features that control flow: diameter, roundness, edge condition, and internal surface finish. Burrs at the exit plane can deflect the flame locally, and a partially blocked channel will bias the gas distribution even if the outer dimensions are correct. Verify that the number and pattern of orifices match the drawing, since a similar-looking faceplate from another torch variant may share the same envelope but not the same flow layout.
Confirm that the through-features are straight and free of taper or ovality introduced during machining. On a multi-channel torch, a single distorted channel can affect the balance between fuel and oxygen streams, which is one reason pressure balancing and gas flow dynamics deserve attention whenever internal geometry changes. Any VAD burner nozzle replacement that changes internal flow area should trigger a fresh look at the pressure balance across the torch.
Sealing faces and mating surfaces
Measure flatness and surface condition on any face that seals against the torch body or an adjacent component. Scratches, dents, or raised material on a sealing face can cause leakage or uneven clamping, and that unevenness can distort a thin faceplate when fasteners are tightened.
Check that locating features, such as dowel holes, steps, shoulders, or spigots, are present, undamaged, and dimensionally consistent with the mating part. Overlooking a compromised sealing face is one of the most common causes of a VAD burner nozzle replacement that appears correct but leaks under operating temperature.
Overall dimensions and interfaces
Verify the outside diameter, length, and any step or shoulder dimensions against the drawing. Confirm thread forms and pitches where threaded connections are used, and check gas connection interfaces against the intended mating hardware. It is easy to assume that a replacement matches because it fits loosely in place; the useful question is whether it seats fully and aligns correctly under normal clamping.
Material and condition verification
Material suitability depends on the component’s function, its temperature exposure, the chemical environment, and the engineering requirements of the torch. Do not infer a material from a product category alone. If the replacement is made from a different alloy or grade than the original, confirm with the drawing holder or the component supplier that the change is acceptable for the application.
Where aluminum components are used, they should be evaluated against the same criteria as any other material rather than assumed equivalent. The same discipline applies whether the nozzle body is stainless, nickel alloy, or another engineered grade, and a material change is a legitimate reason to slow down a VAD burner nozzle replacement until the substitution is confirmed.
Assembly Checks During VAD Burner Nozzle Replacement
Once dimensions are confirmed, assembly becomes a sequence of alignment and seating steps. The goal is a nozzle stack that sits square, seals properly, and preserves the intended relationship between the gas channels and the torch axis. For related fit-up principles on other torch hardware, the OVD burner head replacement guide covers drawing and gas-connection comparison in a similar spirit.
- Clean and inspect mating surfaces. Remove residue, particulate, and any old sealing material from both the nozzle and the torch body. Inspect for damage before assembly rather than after.
- Trial-fit without final torque. Seat the nozzle by hand or with light fastener tension and check that it sits fully against its locating features. Any rocking, gap, or interference should be resolved before final tightening.
- Check concentricity and orientation. Confirm that the nozzle is centered relative to the torch axis and that any keyed or indexed feature is in the correct position. Misorientation can rotate an asymmetric orifice pattern into the wrong plane.
- Tighten in a controlled sequence. Use the specified torque and a crossing or staged pattern where multiple fasteners are involved, so the nozzle is drawn down evenly.
- Re-verify after tightening. Recheck seating, gaps, and concentricity after final torque to catch distortion introduced by clamping.
If the nozzle does not seat correctly after these steps, stop and identify the cause rather than increasing torque. Forced seating can damage the torch body and distort the nozzle, turning a dimensional problem into a scrap component. Torque values should come from the torch documentation or the OEM specification; where those are unavailable, a documented internal standard is better than guesswork, and standards such as those published by ISO on technical product documentation can inform how dimensional and assembly records are structured.
A successful VAD burner nozzle replacement depends on treating the assembly stage as an inspection opportunity, not a quick bolt-up task.
Why Post-Replacement Performance Can Drift
Two failure modes are common after a VAD nozzle replacement, and both trace back to assembly rather than to the nozzle alone.
The first is a change in flame symmetry. If the nozzle is slightly off-center, or if one channel is restricted, the flame may tilt rather than project evenly. This is the subject of burner flame tilt diagnosis, which is worth reviewing when a torch behaves differently after a rebuild.
The second is a gradual change in deposit character, for example a soot body that is no longer round or that shows asymmetric density. Concentricity errors are a known contributor to profile drift. Although that reference addresses OVD, the underlying geometry principle, that nozzle centering affects the deposited profile, applies to axial deposition as well when a mis-set nozzle changes the flame’s spatial relationship to the target.
When these symptoms appear, the diagnostic question is whether the nozzle was verified dimensionally and seated correctly, or whether the replacement was assumed to be interchangeable. A confirmed diagnosis requires evidence: measurement records from the bench, a verified seating check, and a comparison against a known-good assembly. Teams that document each VAD burner nozzle replacement build a baseline that makes future drift analysis far faster.
Sourcing VAD Nozzle Replacements and Related Components
Replacement success depends heavily on the quality of the specification used to make or select the part. A useful sourcing request includes the component drawing or a measured dimension set, the material requirement, gas connection details, and the operating conditions the nozzle will see. Without those, a supplier can only guess at the interface, and the resulting part may fit but not function. A well-specified VAD burner nozzle replacement shortens lead time and reduces the chance of a second revision.
For standard items, it helps to review the available range before assuming a custom part is necessary. For discontinued or non-standard nozzles, a drawing-based approach is usually faster than trying to match a physical sample. When a custom nozzle set is required, the custom OVD burner nozzle replacement specifications article outlines the details a supplier needs to confirm before machining begins, and the same specification logic applies to axial deposition nozzle sets.
Where a reverse-engineered replacement is needed, the material and geometry considerations in the custom OVD and VAD burner sourcing guide provide a useful framework for what to specify. That guide is particularly relevant when a VAD burner nozzle replacement has to match an older torch for which drawings are incomplete or partially illegible.
Regardless of the path chosen, the dimensional and assembly checks described above should be applied to every incoming part, because the cost of a rejected component on the bench is far lower than the cost of a failed deposition run.
Documenting Each VAD Burner Nozzle Replacement
Documentation is the difference between a maintenance event and a piece of engineering data. For every VAD burner nozzle replacement, record the incoming measurements, the drawing revision used, the measured seating result, the torque sequence applied, and the first deposition run outcome. Over time, these records reveal which dimensions drift, which suppliers hold tolerance, and whether a recurring flame issue correlates with a specific replacement batch.
A simple record sheet is usually enough. Capture the nozzle part number, serial or batch if available, the measured orifice diameters, sealing-face flatness, overall length, and the assembly checks performed. Add a photograph of the seated nozzle with the torch body, taken before final tightening, to serve as visual evidence. When the same torch returns for its next VAD burner nozzle replacement, the prior record becomes a comparison baseline rather than a guess.
A well-run VAD burner nozzle replacement program treats documentation as part of the procedure, not an administrative afterthought, because the records are what allow the team to distinguish a one-off anomaly from a developing trend.
Common documentation gaps that cause repeat problems
- No record of the drawing revision used for the replacement part.
- Missing measurement data for sealing faces and locating features.
- No note of the torque pattern or final values applied.
- No comparison between the removed nozzle and the installed replacement.
- No run outcome recorded after the torch returned to service.
Closing these gaps costs little and pays back quickly whenever performance drifts or a warranty discussion arises.
Pitakonan sing Sering Ditakoni
Can a VAD burner nozzle be replaced with a similar part from another torch model?
Not reliably. External dimensions may match while orifice patterns, channel depths, or sealing features differ. Verification against the drawing or a measured dimension set is required before substitution, and any change should be confirmed with the equipment documentation holder. In practice, this is where many VAD burner nozzle replacement projects stall, so resolve it before ordering the part.
How do I know whether a post-replacement problem is the nozzle or the assembly?
Start with the assembly checks: seating, concentricity, orientation, and torque sequence. If those are correct, re-measure the nozzle against its specification. A dimensional discrepancy on the bench is a stronger indicator than flame behavior alone, which can have multiple causes. Treat every VAD burner nozzle replacement as a chance to tighten the diagnostic loop.
What information should be included when requesting a replacement nozzle?
Provide the drawing or measured dimensions, material requirement, gas connection details, and the operating conditions the component will experience. Photographs and a physical sample can help, but dimensions take precedence for fit-critical features. The more complete the specification, the more likely the VAD burner nozzle replacement will succeed on the first attempt.
Does nozzle material affect replacement outcomes?
It can. Material suitability depends on temperature exposure, chemical environment, and the function of the specific component. A material substitution should be evaluated against the original requirement rather than assumed equivalent. A documented VAD burner nozzle replacement procedure should record any material deviation and the rationale behind it.
How often should a VAD burner nozzle replacement be scheduled?
Frequency depends on run hours, gas chemistry, and observed wear. Base the interval on documented condition rather than a fixed calendar, and shorten it when flame behavior or deposit quality begins to drift. A condition-based VAD burner nozzle replacement schedule is almost always more cost-effective than a purely time-based one.
Can a VAD burner nozzle replacement fix an existing flame symmetry issue?
Sometimes. If the prior problem was caused by a worn or distorted nozzle, a correctly specified and properly seated replacement can restore symmetry. If the cause lies elsewhere, such as gas supply, torch body condition, or mounting hardware, a VAD burner nozzle replacement alone will not resolve it, and the diagnosis should continue after installation.
Langkah Sabanjure
If you are preparing a VAD burner nozzle replacement or need a drawing-based duplicate of a discontinued axial deposition burner part, send your drawings, dimensions, material requirements, and operating conditions to request a quotation. Clear specification input is the fastest route to a component that seats correctly and performs as intended.
